You are using an out of date browser. It may not display this or other websites correctly.
You should upgrade or use an alternative browser.
You should upgrade or use an alternative browser.
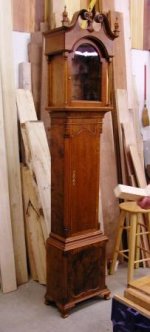
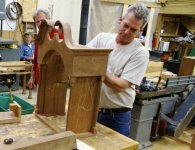
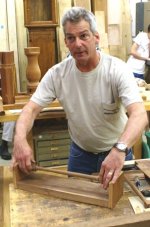
Spring 2 2010 Meeting Photos
- Thread starter Bill Minnick
- Start date

Bill Minnick
Well-known member
Bill Minnick
Well-known member
Bill Minnick
Well-known member
Bill Minnick
Well-known member
Bill Minnick
Well-known member
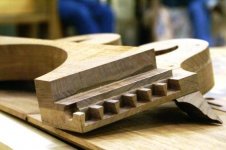
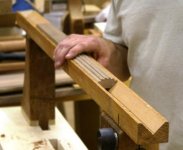
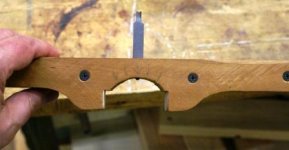
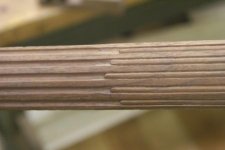
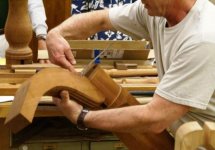
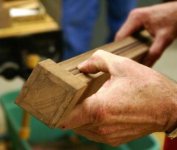
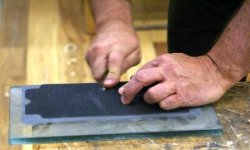
Wood holder with scraper blade (cut from an old saw) is pushed and pulled up and down the column multiple times to cut the flute.
How far the scraper blade extends from the wood holder determines the depth of cut.
How far the scraper blade extends from the wood holder determines the depth of cut.
Attachments
Bill Minnick
Well-known member

Bill Minnick
Well-known member

Bill Minnick
Well-known member
Bill Minnick
Well-known member
Bill Minnick
Well-known member
Bill Minnick
Well-known member
Bill Minnick
Well-known member
Bill Minnick
Well-known member
Bill Minnick
Well-known member
Bill Minnick
Well-known member
Bill Minnick
Well-known member
kerry grubb
Well-known member
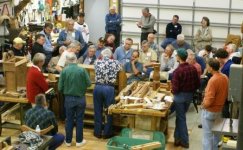
Great photos and info from your chapter meeting. Thanks for sharing these for those of us who couldnt attend
Bill Minnick
Well-known member
Bill Minnick
Well-known member
Share: