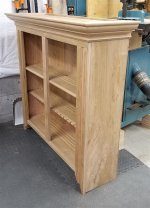
Over the last couple months, I have been able to get into my shop here and there to work on the doors. I held off for a while as I was trying to find a source for the hinges. I found a couple places online but never got responses from e-mails and phone calls. I finally found someone who went so far as to make a prototype and give me a quote, but he has not responded to repeated e-mails in over two months. I found someone else who hopefully will be getting me a quote this week.
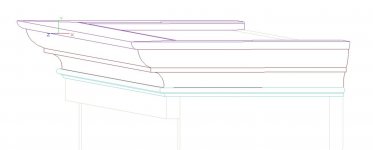
I decided to move forward with the doors as over-lap which means the hinge will require a 5/16” offset.
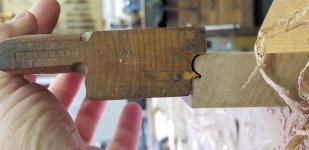
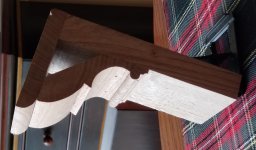
Even though I modeled the mortise and tenon joint in 3D, I still had a hard time figuring out the order of the build. I had done this joint on my spice box-on-frame, but that was a long time ago. I decided to grow the joint on my 3D printer, so I had pieces to hold in my hand for reference. This worked great and allowed me to break the process down. It is easy to do if you have done all the layout ahead of time with a knife.
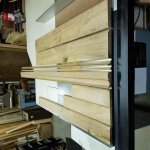
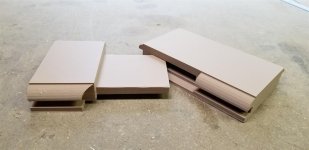
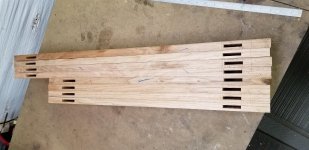
Back in late April I had cut out all the rails and stiles and joined a face on each. They sat for several weeks and were still flat, so I ran them through my planer (alternating sides) and then final sized them.
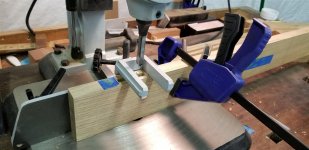
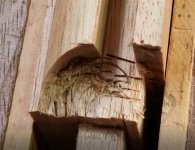
I had left my mortiser and tenon jig set-up from the face frame, so cutting these went quickly. I had noticed on the face frame some inconsistent results with the mortise, and so this time I brought a 6” quick release clamp to hold the boards to the fence. Well worth the extra time of clamping and un-clamping for each plunge. These were all through mortises which had to be cut from both sides.
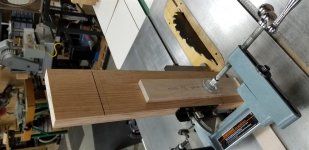
I knifed and sawed the tenon shoulder, and then cut the cheeks on my table saw. I used the band saw to cut the width of the tenons and then a handsaw to remove the waste – followed with a chisel to pare to the knife line. I then used a shoulder plane to take a little off the tenons for a fit I could tap home by hand.
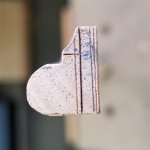
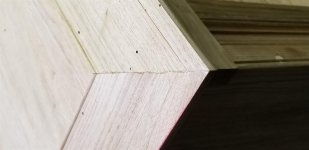
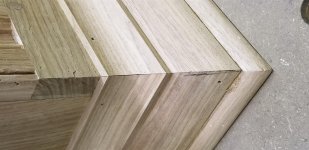
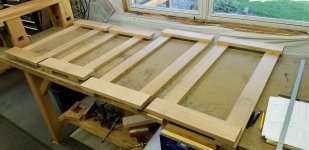
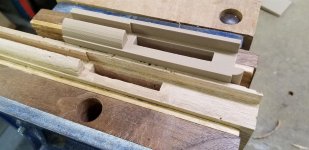
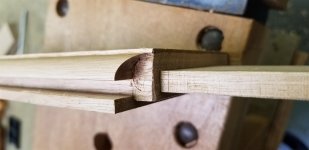
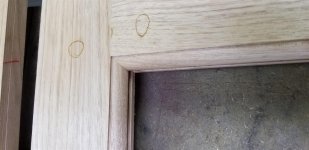
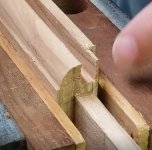
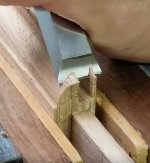
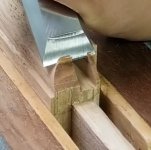
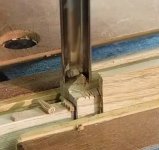
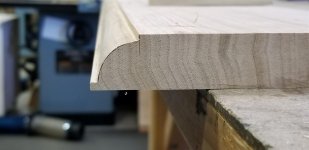
The next step was to form the molding detail on the inside edge of the door. I could have used my Stanley 78 and a hollow plane to form this feature, but I decided to use my router table. When I’ve done copied joints in the past, I spent a lot of time fitting the joint. I believe this was mainly due to the inconsistent molding profiles. In this case four doors mean sixteen pieces need to be molded. Half of these are only about 10” long. After routing I spent a couple hours paring away wood and coping the rails. This was relaxing work.
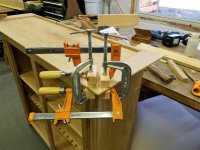
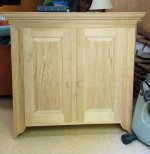
Every frame went together with a nice tight fit on the first try!
Next up: Raised Panels
 2020-03-15 17.01.12 (Large).jpg181.4 KB · Views: 20
 2020-03-20 11.11.09 (Large).jpg237.8 KB · Views: 23
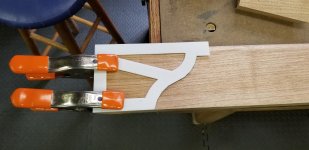 2020-03-20 12.08.03 (Large).jpg219.4 KB · Views: 20
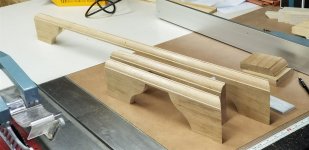 2020-03-20 16.19.21 (Large).jpg225.9 KB · Views: 23
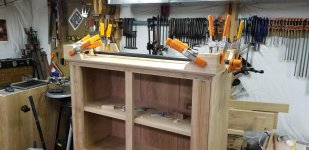 2020-03-20 18.54.26 (Large).jpg255 KB · Views: 21
 2020-03-25 16.23.16 (Large).jpg224.2 KB · Views: 26